1984-1989 Cluster Bulb Replacement
Warning! The factory bulbs can damage your cluster!

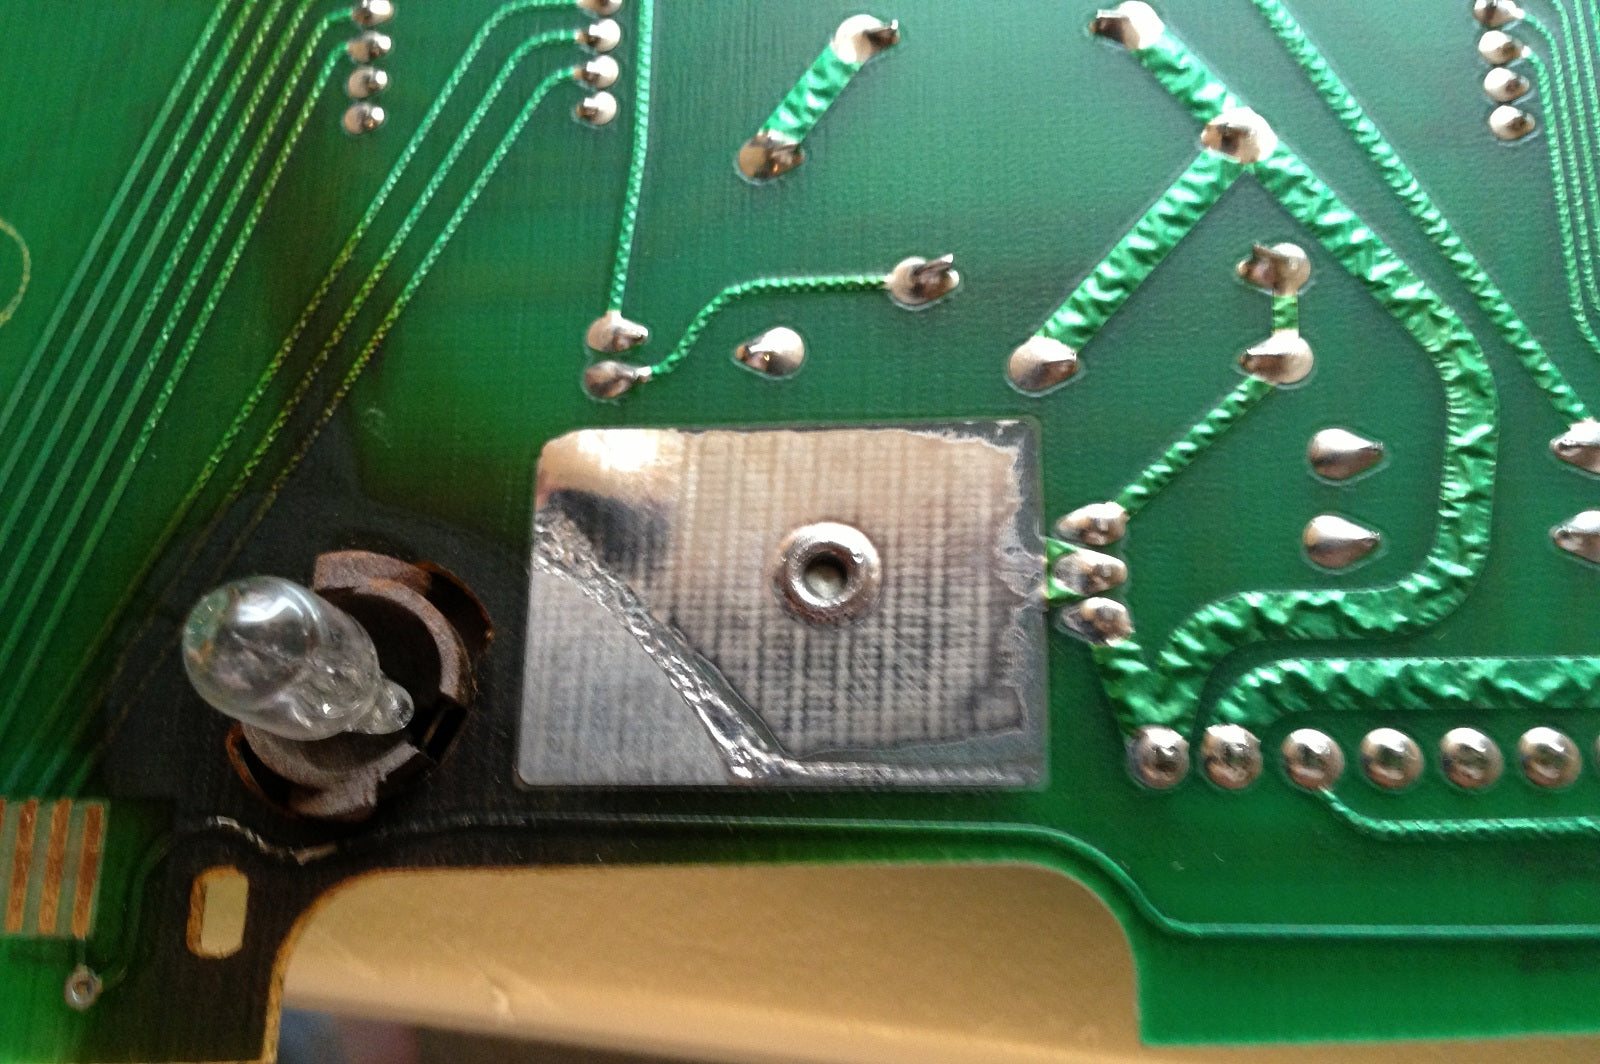
The factory Halogen bulbs damage clusters. The heat they generate melts the light diffuser panels, damages the circuit boards, and even melts the solder off the boards! To keep your cluster running smoothly, you should seriously consider replacing all the illumination bulbs in the cluster with cool running Xenon bulbs. It's money well-spent.
Click Here to buy a set of Xenon Bulbs and Bases
Videos of the Bulb Replacement Process
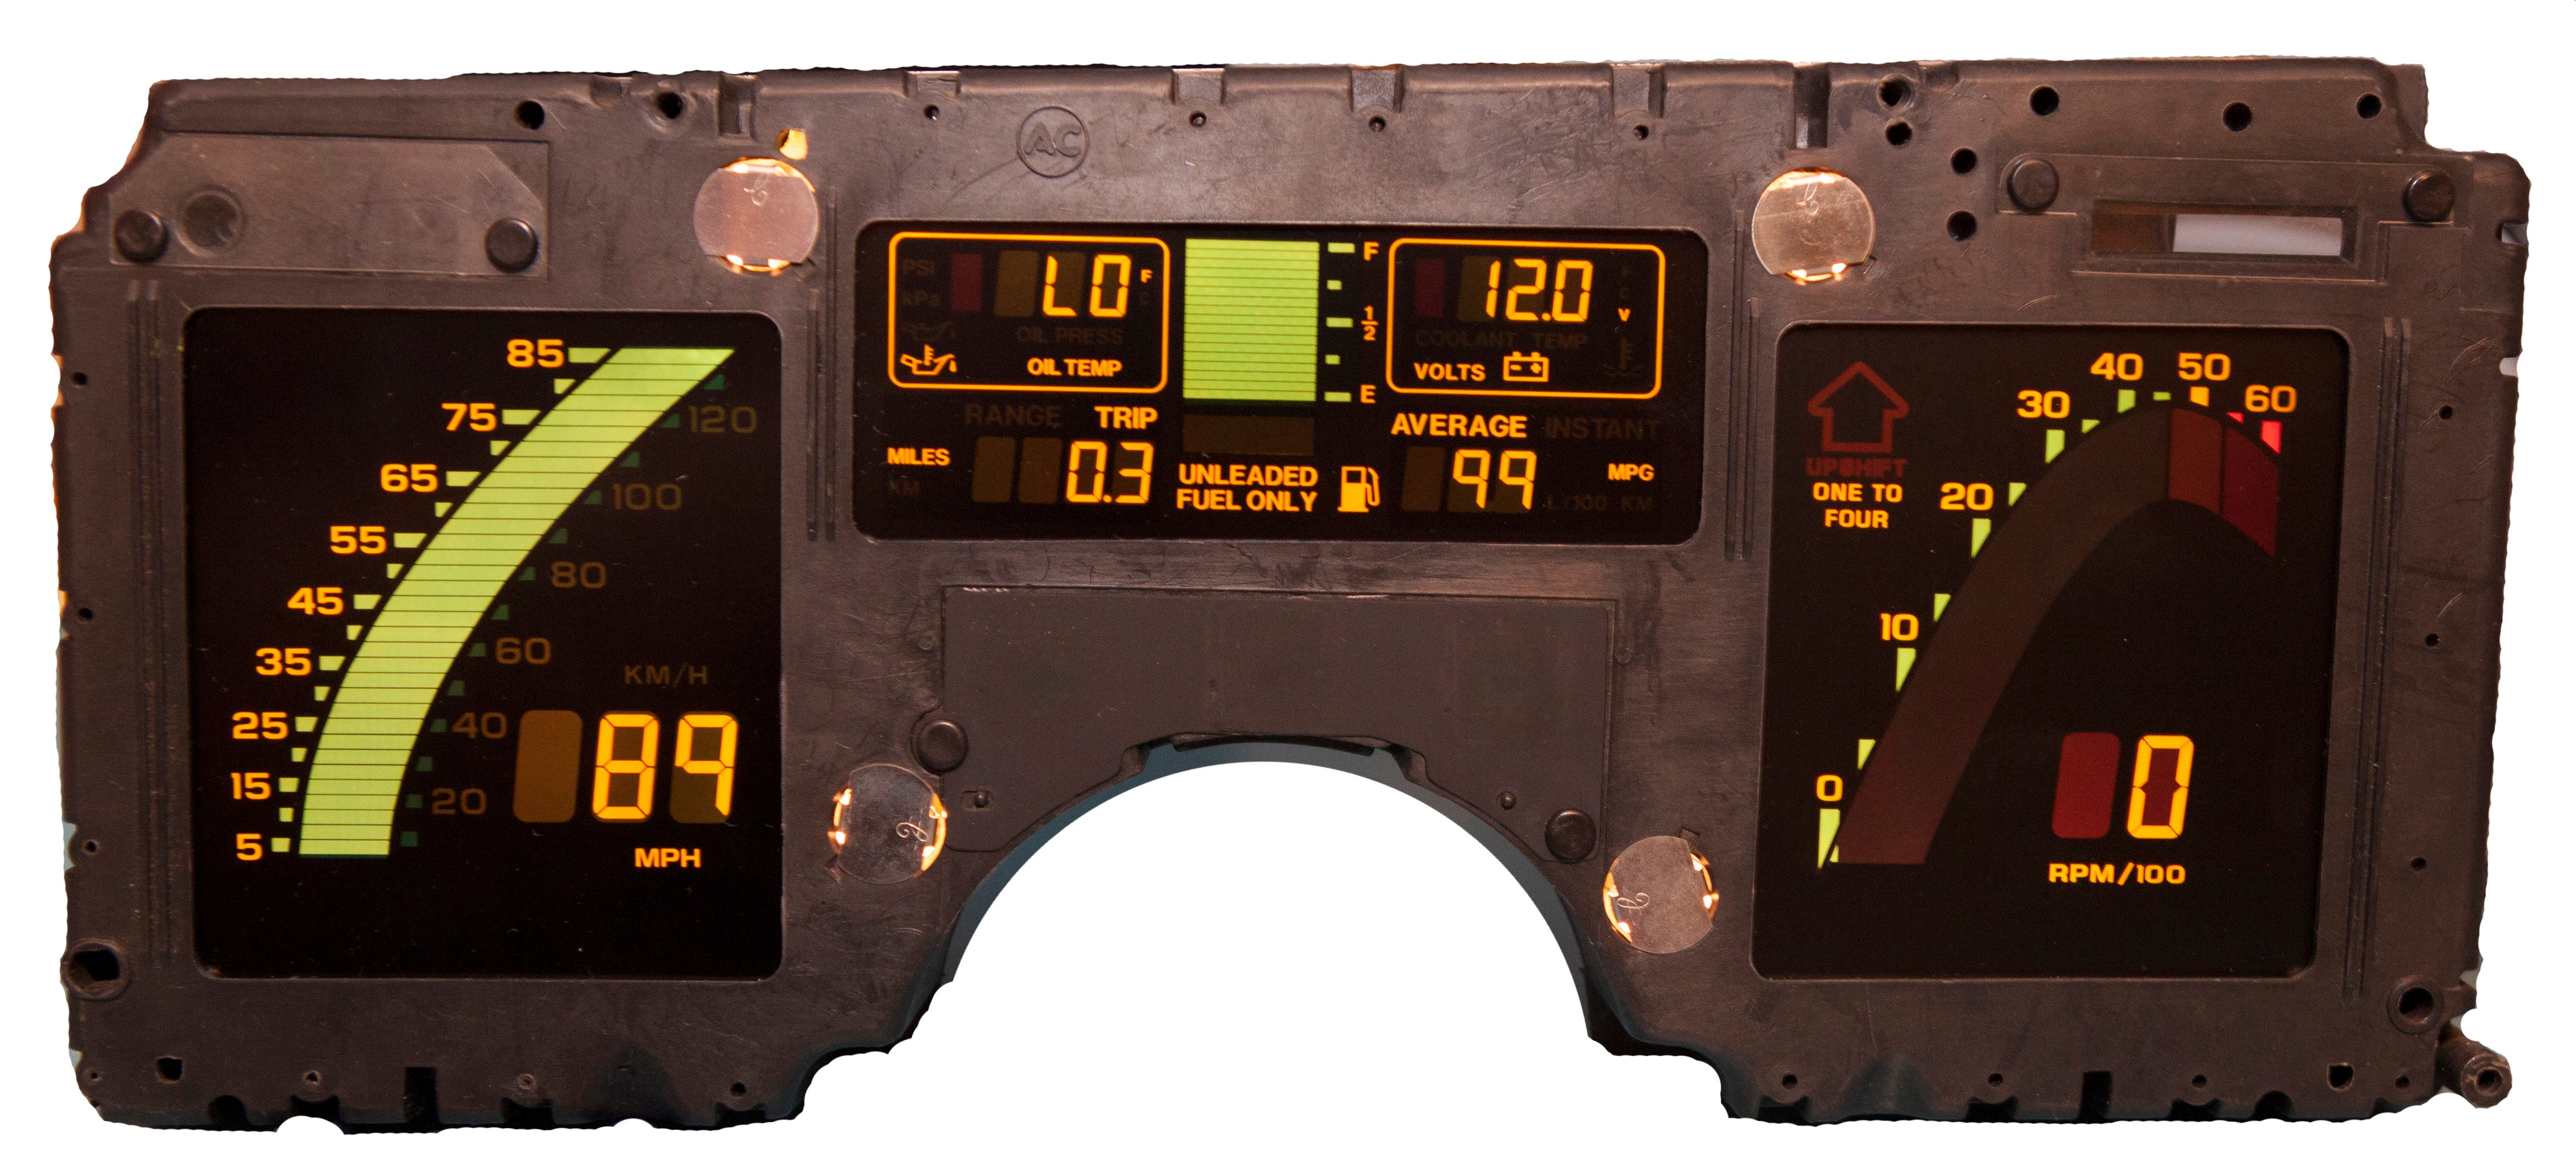
The cluster above is illuminated with the new Xenon bulbs, and it looks great, even in full sun!
Bulb Replacement Instructions
Supplies you'll need for this project
- Xenon bulb kit - Consider replacing the harmful factory bulbs with cool-running Xenon bulbs. Click Here to buy.
Or
- Xenon Bulb Complete Kit - Includes the Xenon bulbs above, and a new set of sockets for the turn signal bulbs. Click Here to buy.
Or
-
LED Bulb Kit - For even cooler operation and less damage, replace the factory bulbs with our cool-running Xenon bulbs. Click Here to buy.
-
Optional photocell kit - If you're having issues with the cluster being too bright or too dim, this is the perfect time to fix it. Click here to buy.
Removing the Digital Cluster
Follow the removal instructions located here.
Disassembling the Cluster
Disassemble the cluster using the documentation here.
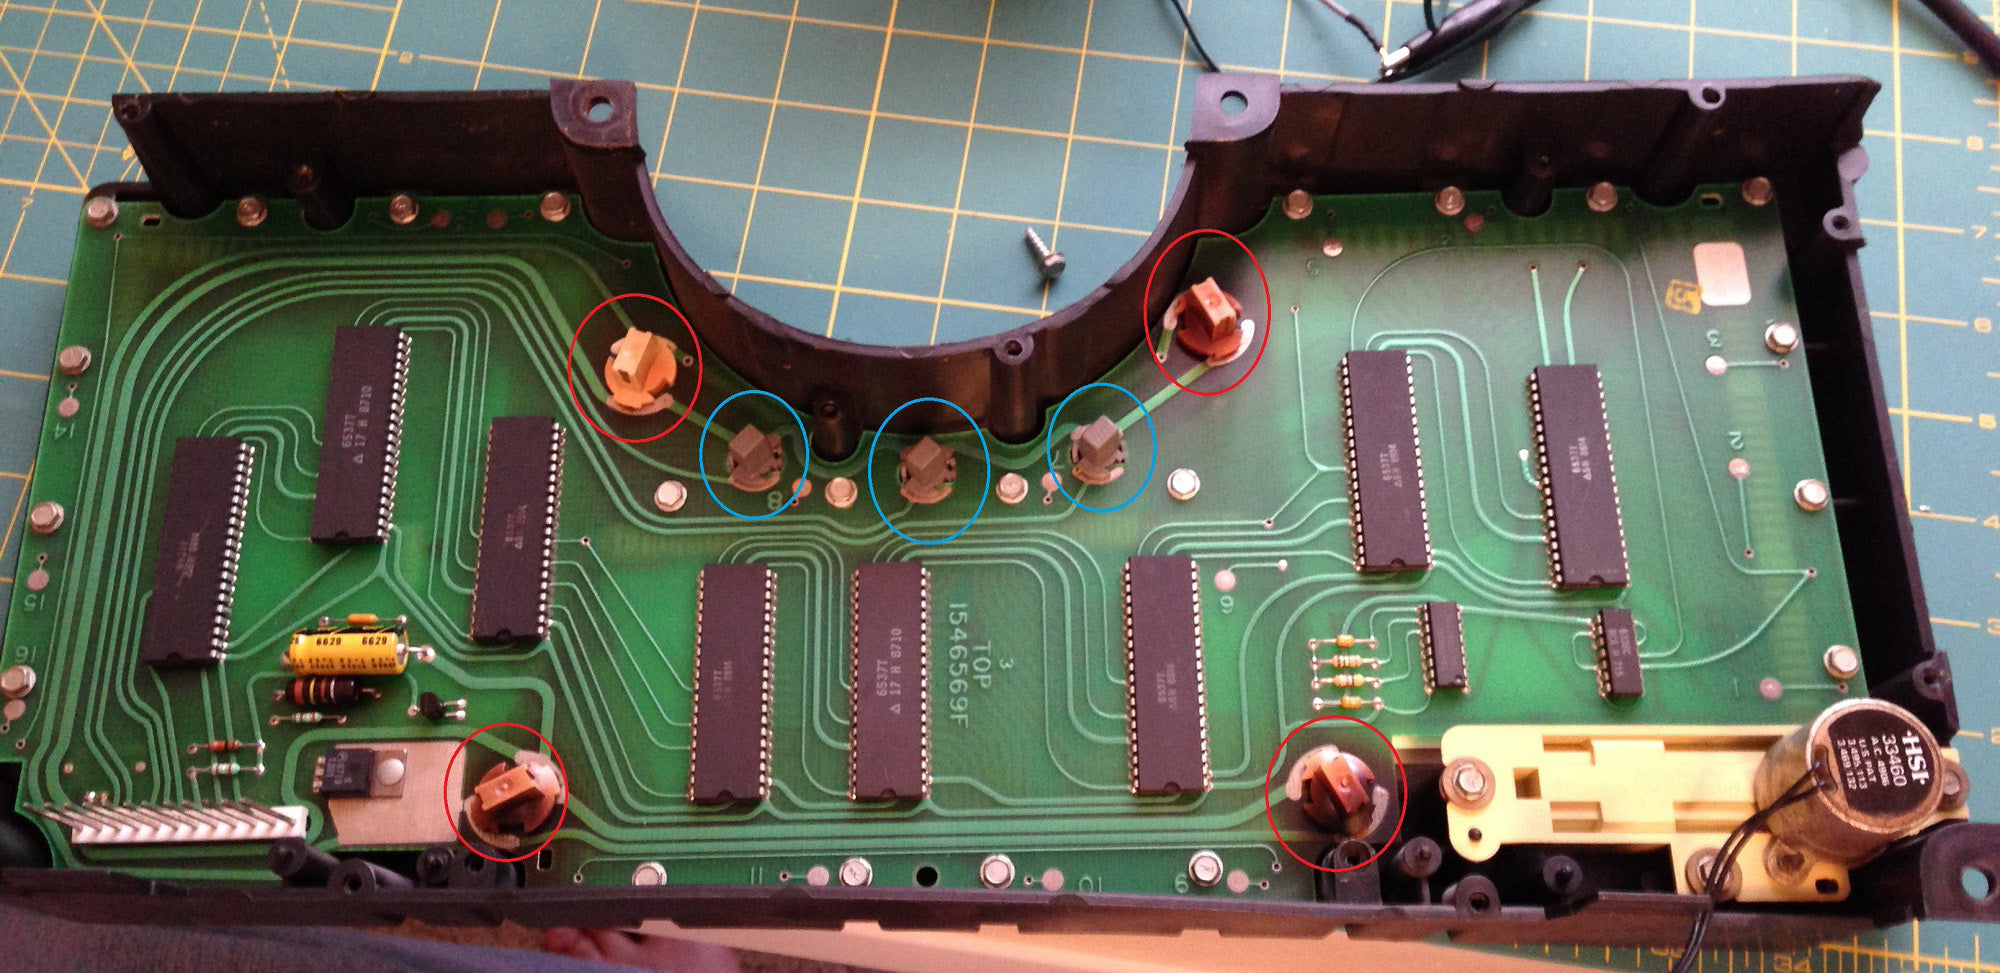
Bulb Locations are circled in red
Replacing the Bulbs
-
Turn each of the four illumination bulb bases (white or green, circled in red in the image above) approximately 1/8 turn counterclockwise, and pull to remove the bulb and base.
-
Replace each bulb with a new Xenon illumination bulb (the larger of the two types of bulbs included with your kit. Turn approximately 1/8 turn clockwise until tight.
-
Turn each of the three indicator bulb bases (grey or green plastic bases, circled in blue in the image above) approximately 1/8 turn counterclockwise, and pull to remove the bulb and base.
-
Pull each of the three old indicator bulbs straight out of the factory bases gently. Don't twist them with respect to the base.
-
Push each of the three new indicator bulbs into the factory sockets gently.
-
Replace each of the three indicator bulb and base assemblies, and turn approximately 1/8 turn clockwise until tight.
Replacing the Photocell
If you're experiencing problems with the dash being too dim in the daylight, or too bright at night, it may have a problem with the photocell. If you are replacing that component, do it now using these instructions: Click here
Reassembling the Cluster
Reassemble the cluster using the documentation located here.